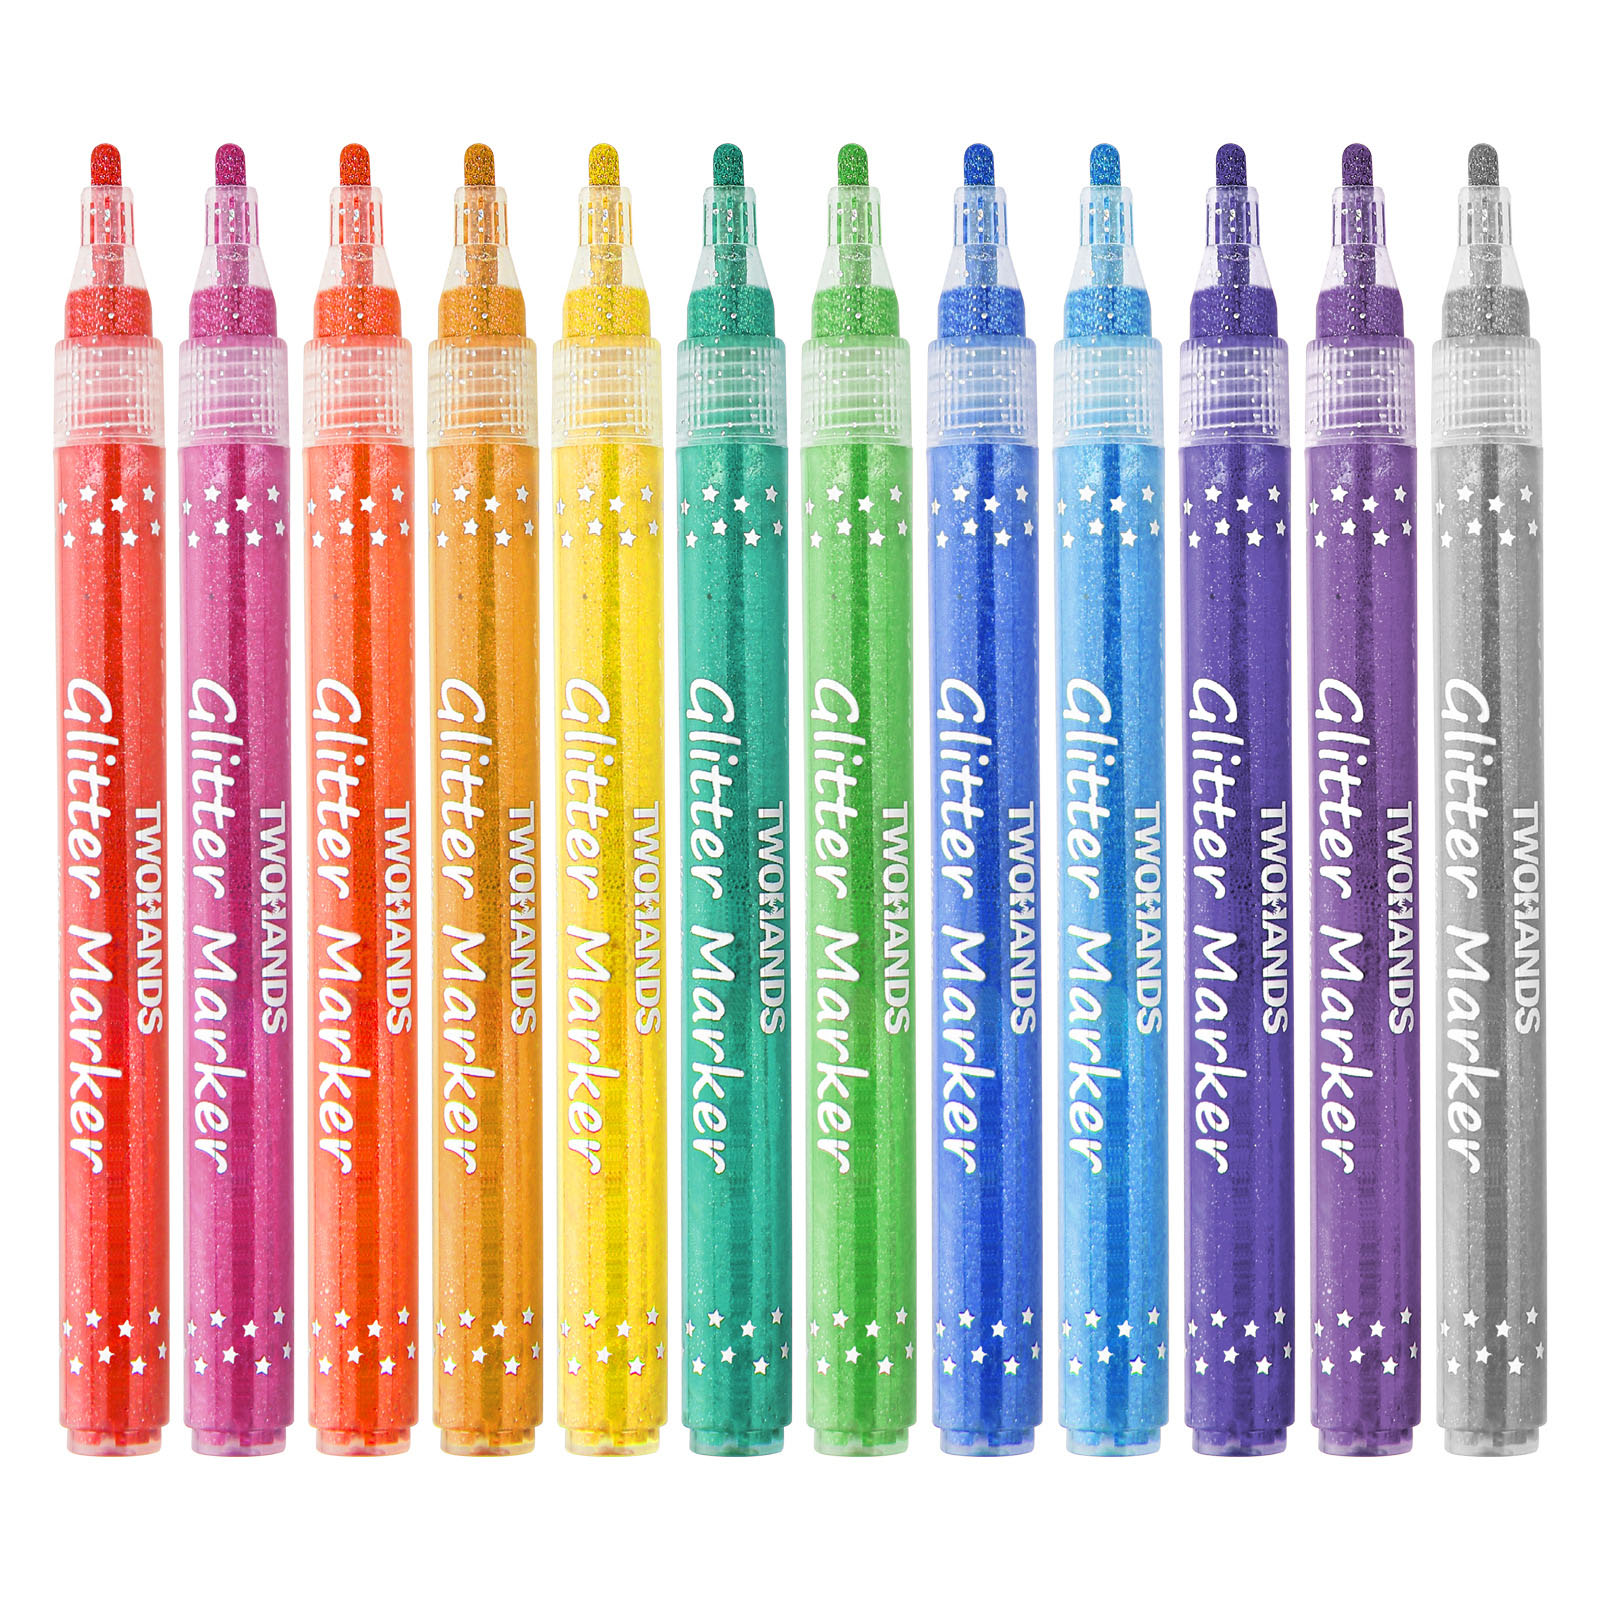
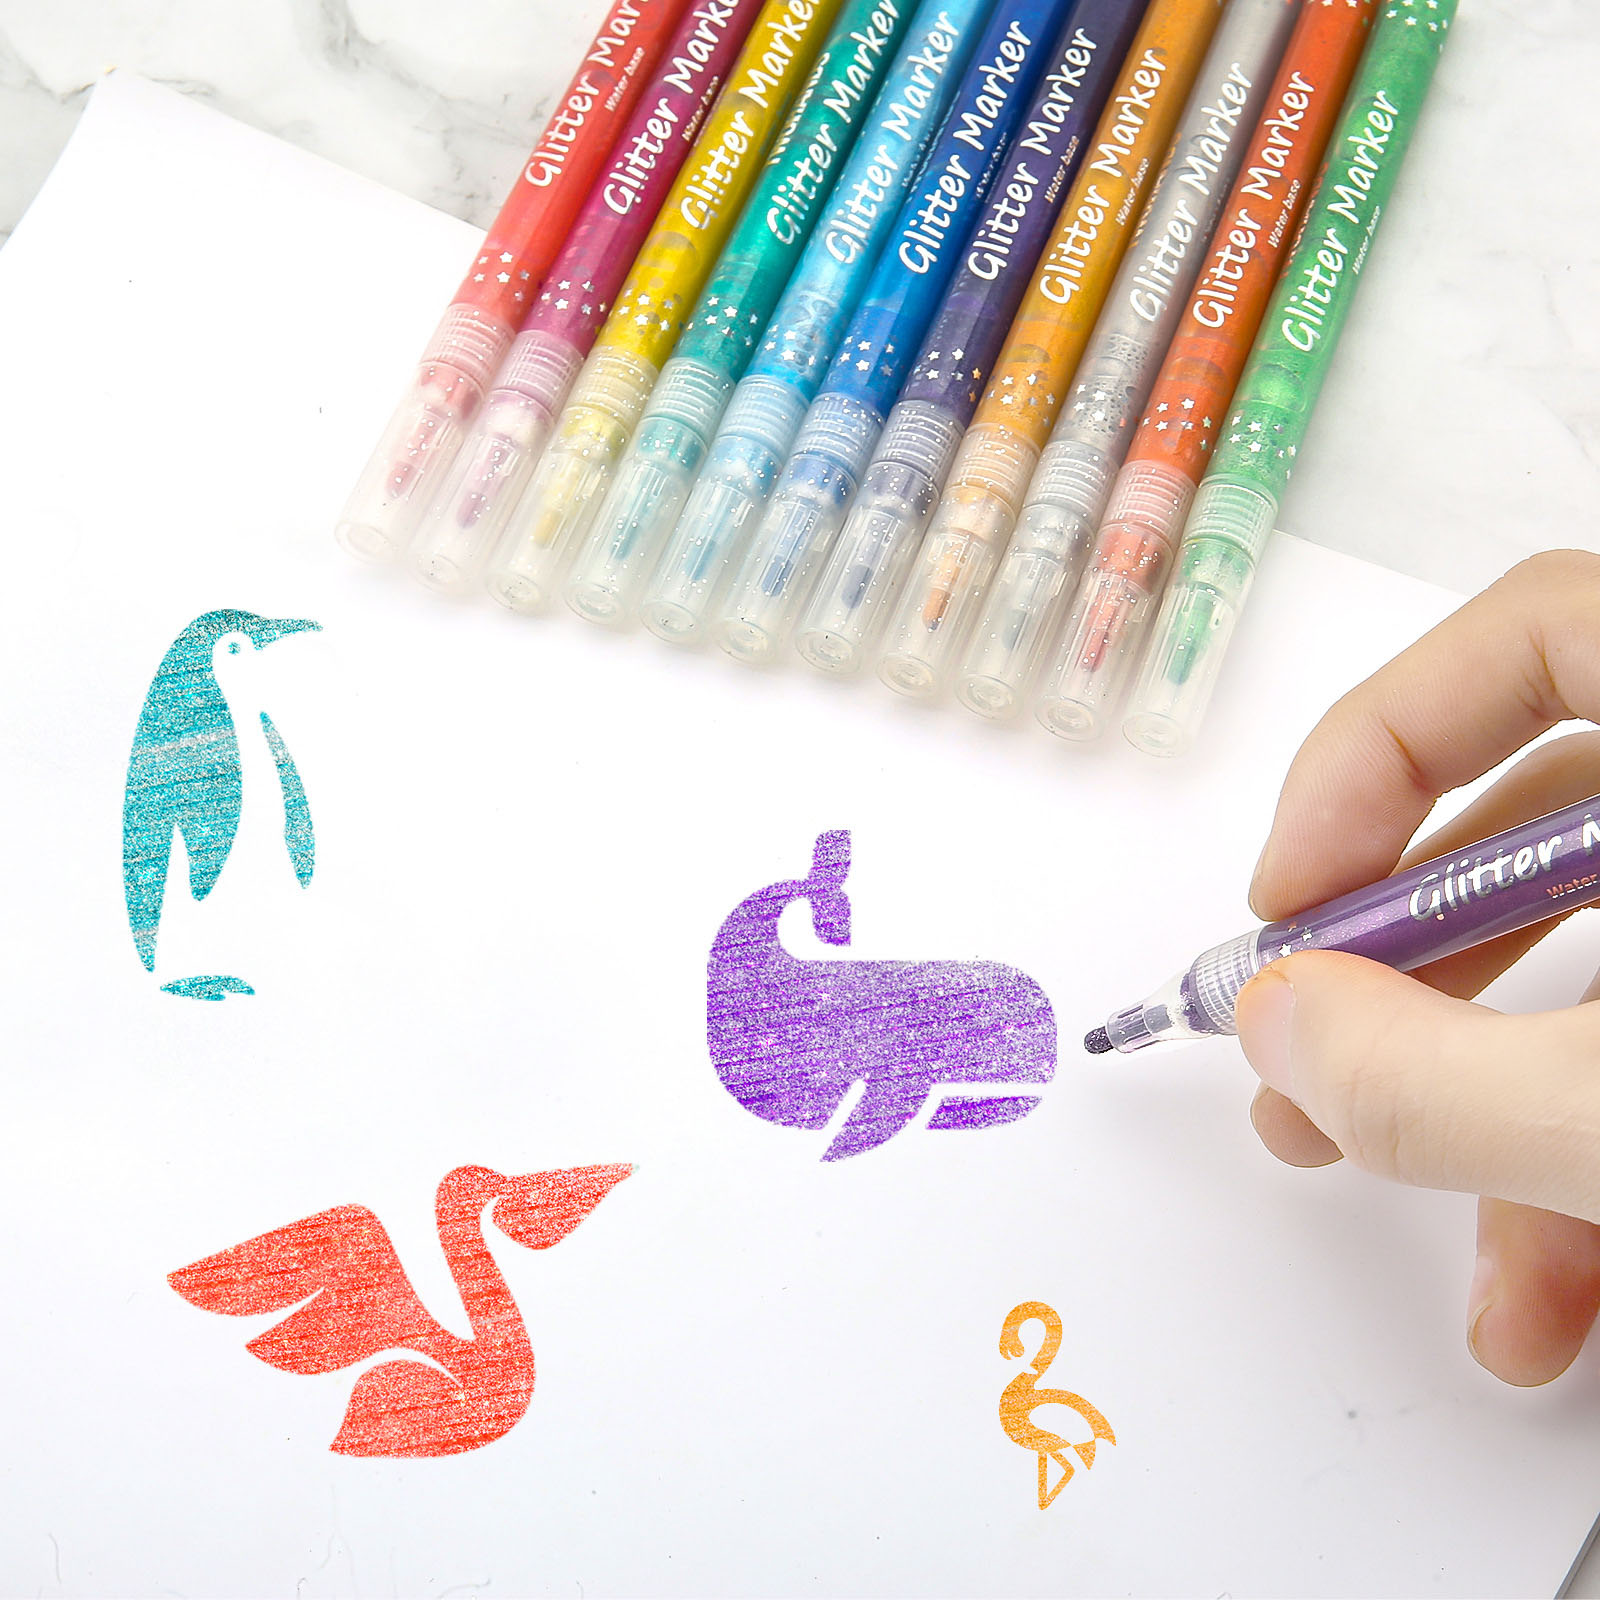
Have you ever wanted to make your paper projects shine? A glitter marker can transform plain designs into sparkling masterpieces. It’s easy to use and adds a magical touch to your work. Whether you’re writing, drawing, or decorating, this tool lets your creativity sparkle like never before.
Key Takeaways
- Prepare your glitter marker by shaking it and pressing the tip on scrap paper until the ink flows smoothly. This ensures a consistent application.
- Always test your glitter marker on scrap paper before starting your project. This helps you check the ink flow and see how the glitter appears on the paper.
- Use thicker paper like cardstock for the best results with glitter markers. It absorbs the ink well and prevents bleeding or warping.
Getting Started with Glitter Markers
Preparing the marker for use
Before you dive into your project, take a moment to prepare your glitter marker. Most markers have a felt tip that needs priming before the ink flows smoothly. Start by shaking the marker gently. This helps mix the glitter and ink evenly. Next, press the tip down on a piece of scrap paper or a flat surface. Hold it there for a few seconds until you see the ink start to appear. Repeat this step if needed, but don’t press too hard—you don’t want to damage the tip. Once the ink flows evenly, your marker is ready to use!
Testing on scrap paper
It’s always a good idea to test your glitter marker before using it on your final project. Grab a piece of scrap paper and try a few strokes. This lets you check the ink flow and see how the glitter looks on paper. You can also experiment with different pressures and angles to see how they affect the line thickness. Testing first helps you avoid surprises and ensures your design turns out just the way you want.
Choosing the right paper for glitter markers
Not all paper works well with glitter markers. Thicker paper, like cardstock or watercolor paper, is a great choice. It absorbs the ink without bleeding or warping. Avoid thin paper, like regular printer paper, as it may not hold up well to the ink and glitter. If you’re unsure, test your marker on a small corner of the paper to see how it reacts. Using the right paper makes a big difference in how your artwork looks and lasts.
Techniques for Using Glitter Markers
Writing and outlining
Using a glitter marker for writing or outlining can make your text pop with sparkle. Start by holding the marker at a comfortable angle. Write slowly to allow the glitter to distribute evenly. If you’re outlining, trace over your pencil lines with steady strokes. This works great for titles, headings, or adding emphasis to specific words. For a bolder look, go over the lines twice, letting the first layer dry before adding the second. This technique ensures the glitter stands out without smudging.
Coloring and shading
Glitter markers are perfect for adding vibrant color to your designs. To fill in larger areas, use smooth, even strokes. Work in one direction to avoid streaks. For shading, try varying the pressure on the marker. A lighter touch creates a softer effect, while more pressure gives a deeper, richer color. You can also use the side of the marker tip for broader strokes. Experiment with these techniques to bring depth and dimension to your artwork.
Layering and blending for effects
Want to create unique effects? Layering and blending with glitter markers can take your designs to the next level. Start by applying one color and letting it dry completely. Then, add another color on top to create a layered look. For blending, work quickly while the ink is still wet. Use a second marker to gently mix the colors where they meet. This creates a smooth gradient effect. Practice on scrap paper to perfect your technique before applying it to your final piece.
Creative Ideas with Glitter Markers

Adding highlights and accents
A glitter marker is perfect for adding that extra sparkle to your designs. Use it to highlight specific areas of your artwork, like the edges of shapes or the tips of flowers. You can also add accents to letters or drawings to make them stand out. For example, if you’re drawing stars, try adding a glittery outline or a shiny center. This small touch can make your designs pop. Don’t forget to experiment with different colors to see which ones complement your project best. Highlights and accents are a simple way to make your work shine.
Designing unique patterns
Why not create your own patterns with glitter markers? Try drawing swirls, zigzags, or polka dots to add texture and interest to your paper. You can even combine different patterns for a layered effect. For instance, start with a base of stripes and then add glittery dots on top. If you’re feeling adventurous, try creating mandalas or geometric designs. Patterns are a fun way to personalize cards, posters, or journals. Let your imagination guide you, and don’t be afraid to try something new.
Combining glitter markers with other materials
Mixing glitter markers with other art supplies can lead to amazing results. Pair them with colored pencils, watercolors, or even stamps to create mixed-media masterpieces. For example, use watercolors for a soft background and then add glittery details on top. You can also combine them with stickers or washi tape for a scrapbook-style look. The possibilities are endless when you mix and match materials. This approach adds depth and variety to your projects, making them truly one-of-a-kind.
Caring for Your Glitter Markers
Cleaning the tips
Keeping the tips of your glitter markers clean is essential for smooth and consistent results. Over time, dried ink or paper fibers can clog the tip, making it harder to use. To clean it, gently wipe the tip with a damp paper towel or cloth. If the ink still doesn’t flow well, press the tip down on scrap paper a few times to reactivate it. Avoid soaking the tip in water, as this can dilute the ink. Regular cleaning keeps your markers in great shape and ready for your next project.
Storing markers properly
Proper storage can extend the life of your glitter markers. Always store them horizontally, not upright. This helps the ink and glitter stay evenly distributed inside the marker. Make sure the caps are tightly closed after each use to prevent the ink from drying out. If you have multiple markers, consider using a pencil case or a storage box to keep them organized. A little care goes a long way in keeping your markers vibrant and functional.
Preserving your glitter marker artwork
Your glitter marker creations deserve to last! To protect your artwork, let the ink dry completely before handling it. For extra durability, consider using a fixative spray or laminating your finished piece. Store your artwork in a folder or frame it to keep it safe from dust and moisture. These steps ensure your designs stay as dazzling as the day you made them.
A glitter marker is your ticket to creating dazzling paper designs. With the right techniques and care, you can unlock endless creative possibilities. Don’t be afraid to experiment and try new ideas. Enjoy the process, and let your imagination shine. Your creativity deserves to sparkle as brightly as your designs!
FAQ
How do I fix a dried-out glitter marker?
Try pressing the tip on scrap paper to reactivate the ink. If that doesn’t work, shake the marker gently and test again.
Can I use glitter markers on dark-colored paper?
Yes! Glitter markers often show up beautifully on dark paper. Test first to ensure the color and sparkle stand out as you want.
Are glitter markers safe for kids?
Most glitter markers are non-toxic and safe for kids. Always check the packaging for safety details and supervise younger children during use.
Post time: Feb-19-2025


